
HOW TO APPLY PHOTO-ETCH PARTS
What are photo-etch (PE) parts?
Photoetched parts are an excellent way to add more detail to your models, parts are readily available for most models and will add extra detailing that can really bring the model to life.
These tiny metal parts are commonly made from steel or brass and come in a variety of thicknesses. The metal is etched using a photochemical process, resulting in fine details that can be difficult to produce in plastic.
Preparation
Before the parts can be used on the model, they should be cleaned, just like any other part of the model. This will help ensure glue and paint will correctly adhere to the parts.
Photoetched parts can be cleaned with lacquer thinner, removing any residue leftover from the etching process. Once cleaned make sure parts are dry before painting or attaching them to the model.
Removing from the Sprue
To remove the parts make sure you have a sharp hobby knife and cutting mat to hand, simply lay the sprue flat on the mat, carefully hold the parts and cut the parts away at the tabs.
Watch out for small parts springing away when cut, they can be easily lost!
Deburring
If the parts require cleaning and deburring, you will need to hold them carefully with a flat tweezer or tweezer-nose plier. Carefully file the piece by rubbing against a stationary sanding pad.
Attaching Parts
As the parts are made of metal, the most commonly used adhesive is superglue. When attaching parts to a painted surface, however, it is recommended to use a clear epoxy as this will avoid damage to paintwork.
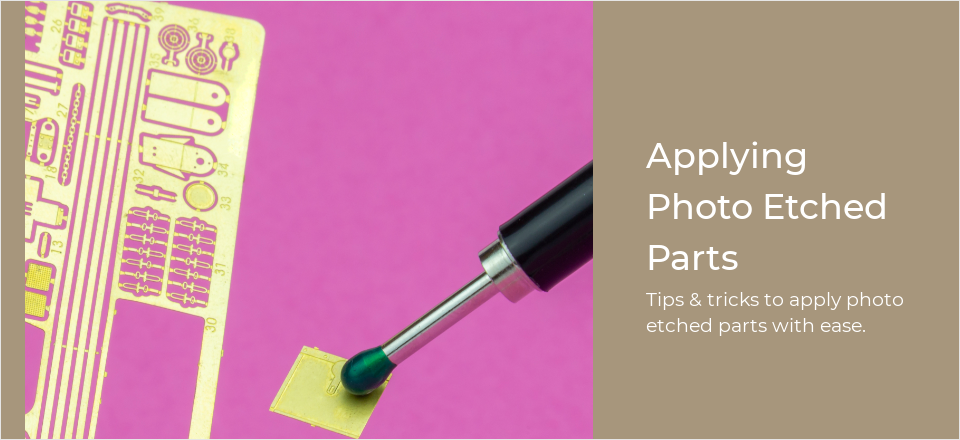
We recommend using the Modelcraft Pick & Place Tool when attaching parts, this unique tool allows you to gently lift the parts from a single side, making it easy to apply glue and avoid sticky situations!